This method creates a strong, reliable starter without the waste of daily discard. It’s designed for home bakers who want to build something steady and intuitive—using what they have, trusting what they see, and feeding only what they’ll use.
No-Waste Sourdough Starter
Servings
1
servingsPrep time
5
minutesCooking time
0
minutesCalories
N/A
kcalA gentle, adaptive method for building a sourdough starter without discards—just flour, water, and daily care.
Ingredients
2 Tbs 2 Flour
2 Tbs 2 Water
Directions
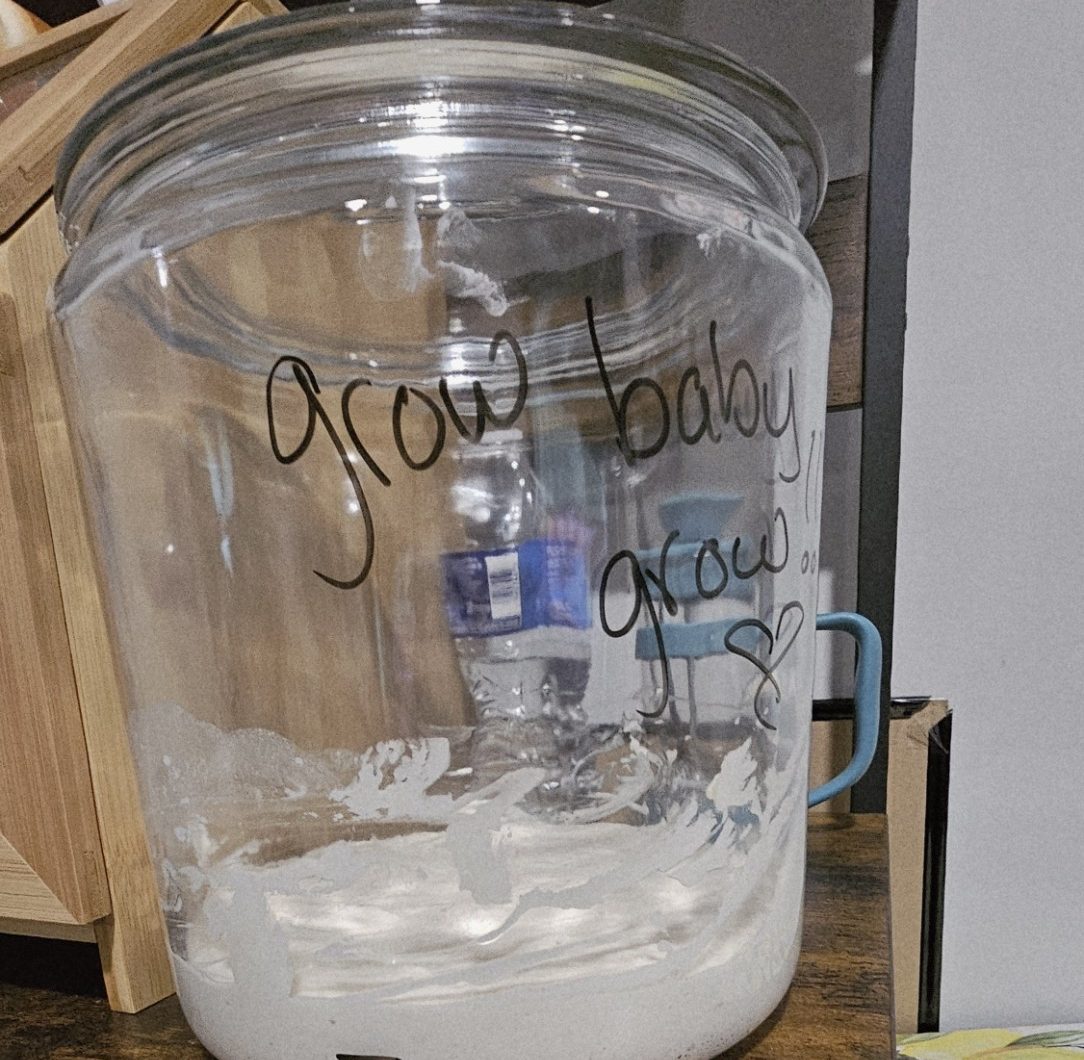
- Day 1
Mix 2 tablespoons flour with 2 tablespoons water in your jar. Stir well. Cover with breathable cloth. Leave at room temperature. - Days 2–7
Feed once a day:
– Add 2 tablespoons flour + 2 tablespoons water
– Stir gently
– Cover again
You’ll start to see bubbles, a rise, and a sour smell by day 3 or 4. Keep feeding daily to build strength. No discard—just consistent care. - After Day 7
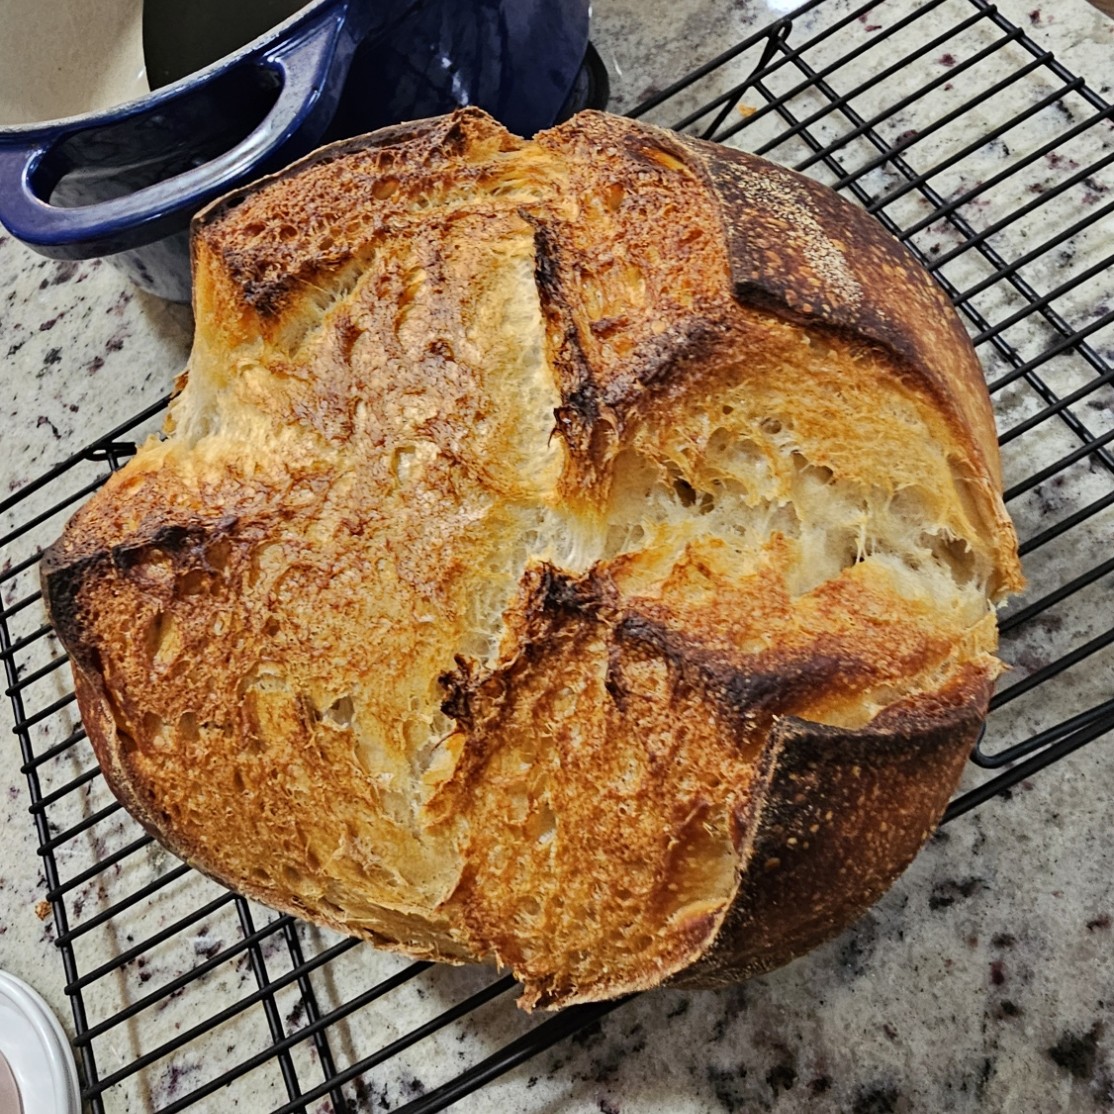
Once your starter reliably rises and smells pleasantly sour, it’s ready to use. You can bake with it or store it in the fridge between uses. - To store:
Keep in the fridge with breathable cover
Feed once a week or every other week to keep it active
When you’re ready to bake, take it out the day before and give it a fresh feeding
Notes
- All-purpose flour works beautifully and is more versatile than whole grain
- If your kitchen is cold, fermentation may slow—wrap the jar in a towel or place near a warm spot.
- If it smells off (rotten, cheesy, or sharp), compost and restart.
- You don’t need to grind your own flour or buy anything fancy—this method meets you where you are.
- Tap water is fine if it’s been left out for a few hours—this lets any chlorine evaporate naturally.